
Climbing Kilimanjaro - A Practical Guide
Climbing Kilimanjaro - A Practical Guide
Climbing Kilimanjaro - A Practical Guide
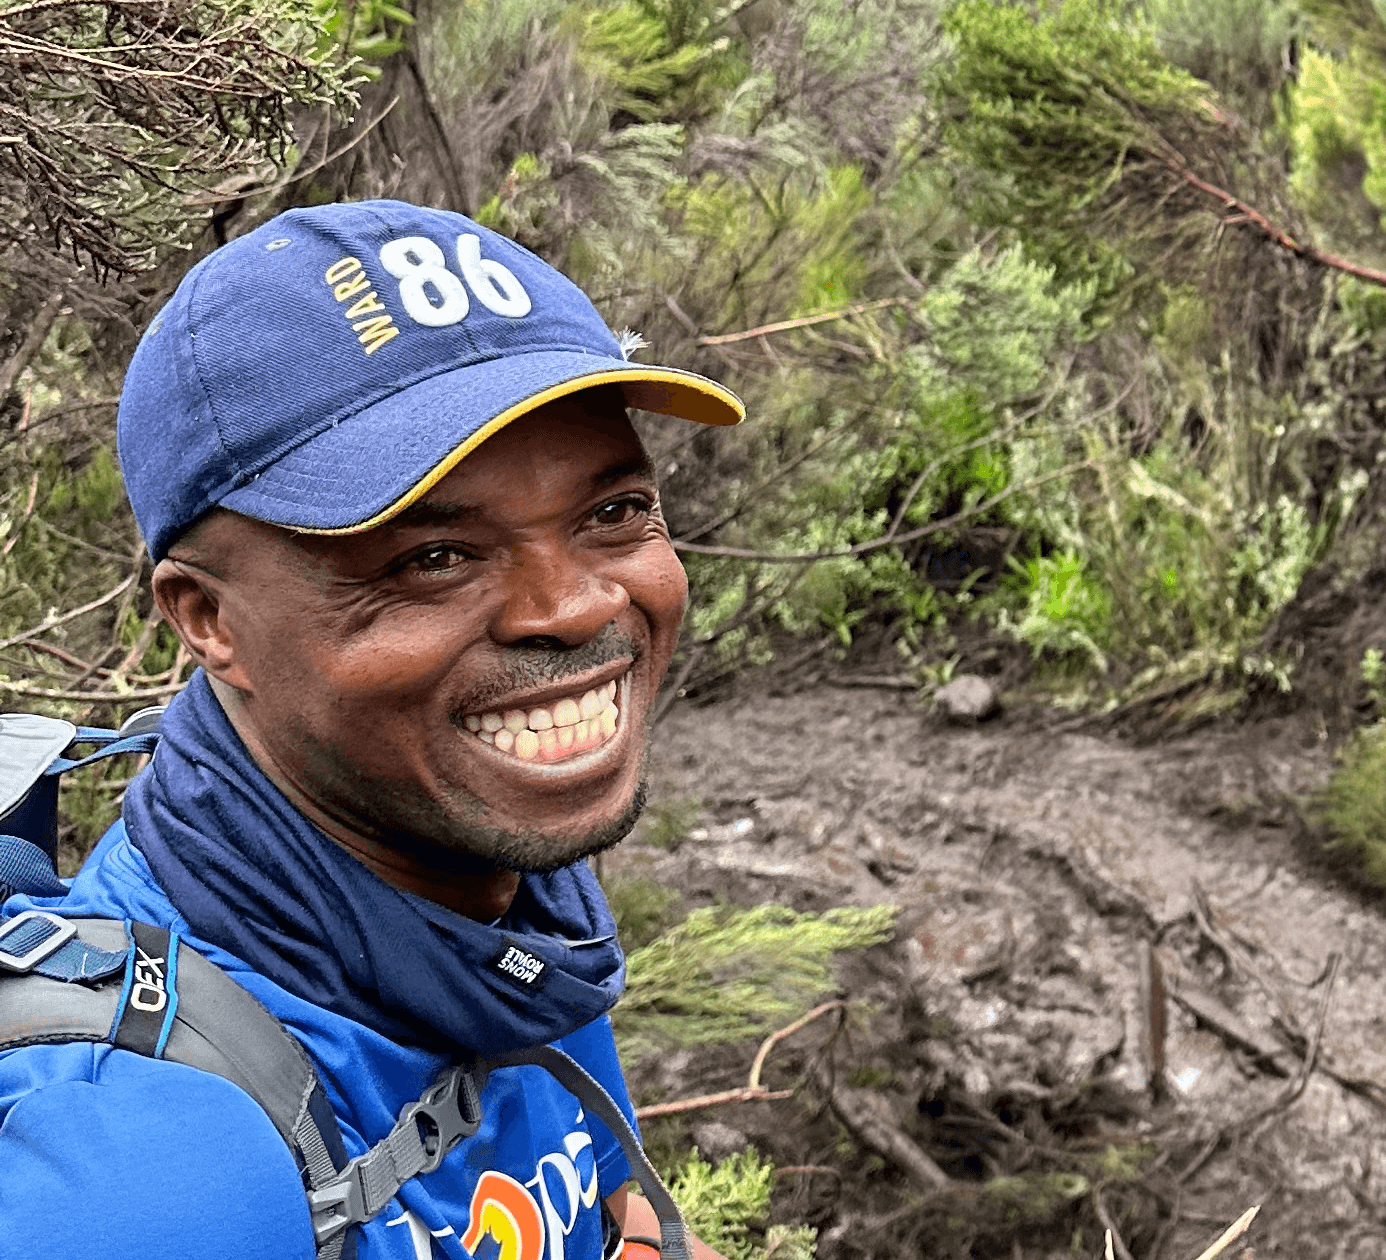
Dulla
6 Feb 2025

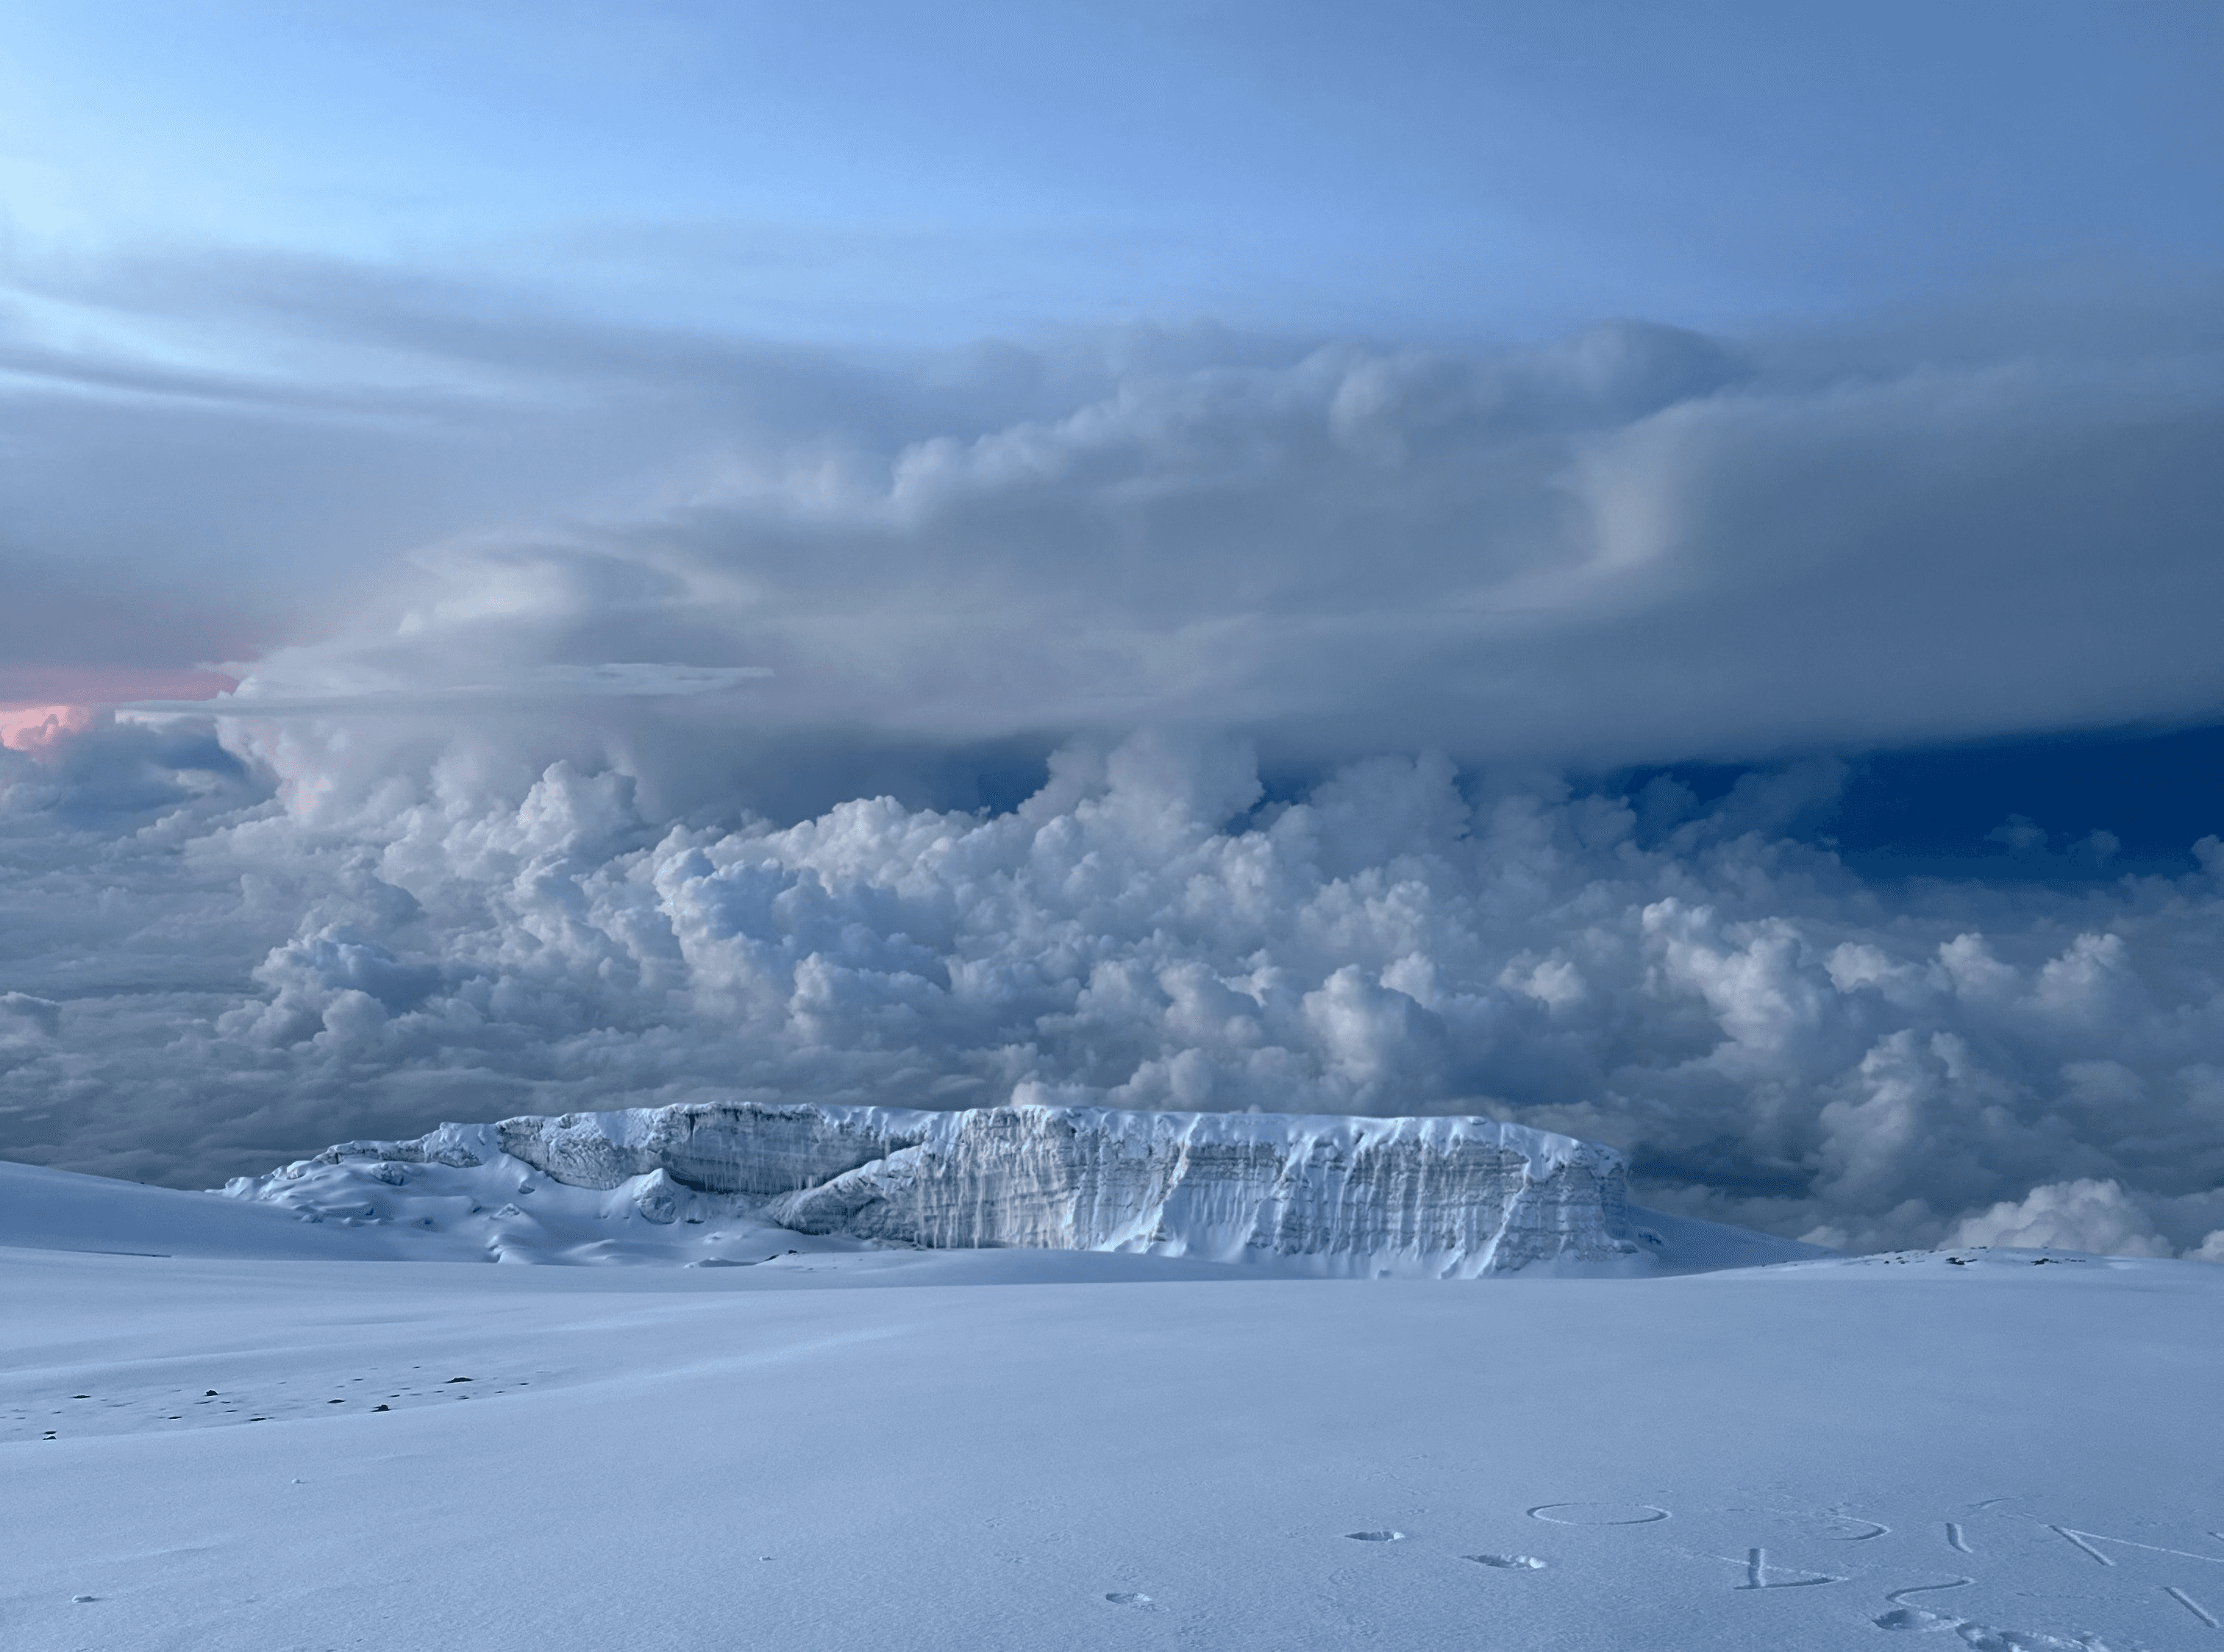
Rising above the Tanzanian plains, Mount Kilimanjaro draws hikers with its snow-dusted summit and the promise of a serious, soul-stirring challenge. As the tallest peak in Africa and the world’s highest standalone mountain, it’s a rare high-altitude goal that doesn’t demand ropes or crampons, just determination and a strong pair of legs.
This guide equips you with real-world knowledge, not marketing fluff. From route comparisons to altitude prep and operator red flags, you'll find what matters here.
Kilimanjaro At-a-Glance
Before diving into the logistics of your trek, it helps to understand Kilimanjaro at a glance. This quick reference sheet gives you the high-level stats: elevation, climate zones, success rates, and how many people actually attempt the climb each year. It's a snapshot of what you're signing up for and what makes this mountain so unique.
Quick Stats | Details |
Height | 19,341 feet (5,895 meters) |
Location | Northern Tanzania, East Africa |
Climate Zones | 5 ecological zones |
Routes with Highest Success | Lemosho (90%), Northern Circuit (95%) |
Typical Duration | 6-9 days |
Average Success Rate | ~65% (varies by route) |
Annual Climbers | Around 35,000 |
Minimum Age | 10 years (with special permit) |
Technical Climbing Needed | None; hiking only |
Peak Climbing Season | June-October, December-March |
When to Go
Kilimanjaro’s weather cycles aren’t just about sunshine or rain, they affect summit chances, views, and how crowded the trail feels. The mountain has two clear climbing windows, shaped by Tanzania’s dry seasons, but shoulder periods can offer solitude and savings for those willing to accept less predictable conditions.
Main Climbing Seasons:
June to October
Dry weather and steady conditions
Clear skies and great visibility
Summit temps range from -20°F to 20°F
Expect crowds; book 6+ months early
Best for first-time climbers seeking good trail conditions
December to March
Also dry, but colder
January and February are clearest
Summit temps from -25°F to 15°F
Moderate traffic
Ideal for photographers and those avoiding peak footfall
Shoulder Season Options:
April to May: Wettest time, but lower prices and fewer hikers
November: Unpredictable rains, lighter crowds, budget deals

Choosing Your Route
Each route up Kilimanjaro offers a different experience, some are scenic and slow, others direct and budget-friendly. Success rates, trail traffic, and acclimatisation profiles vary, so matching a route to your fitness level and travel goals can have a huge impact on the outcome of your climb.
Route | Days | Success Rate | Difficulty | Crowds | Best For |
7-8 | 90% | Moderate | Low-Medium | Beginners, scenic variety | |
6-7 | 85% | Moderate | High | Fit hikers, dramatic views | |
6-7 | 80% | Easy-Moderate | Low | First-timers, older trekkers | |
8-9 | 95% | Moderate | Very Low | Best acclimatization, quiet trail | |
5-6 | 60% | Misleading | Medium | Basic hut lodging (not recommended) |
Quick Picks:
Best for Beginners: Lemosho (8 days) or Rongai (7 days)
Most Scenic: Northern Circuit (9 days)
Fast & Budget-Friendly: Rongai (6 days)
Success Rates
Altitude is the biggest obstacle on Kilimanjaro, and how long you take to adjust can mean the difference between success and a forced descent. Choosing a longer itinerary isn’t just a comfort choice, it directly affects how well your body adapts to the altitude, and ultimately, whether you make it to the top.
Longer treks mean higher odds of reaching the summit. Here’s the trend:
5-6 days: 45-65% success
7 days: 75-85%
8+ days: 85-95% and above
Why More Days Help:
Acclimatisation through gradual ascent
Better recovery time between climbs
Adapts to the "climb high, sleep low" method
Less stress on the body at altitude
Altitude & Acclimatisation Basics
As you ascend, oxygen levels drop fast, and your body must adapt. This natural process, acclimatisation can’t be rushed. Knowing what to expect and how to manage early symptoms is crucial to avoid serious health issues and maximise your chance of reaching the summit safely.
At the summit, oxygen levels drop to about half that of sea level. Your body needs time to adjust.
What Happens Over Time
Days 1-2: Mild altitude symptoms are normal
Days 3-4: Red blood cell production ramps up
Days 5-6: Breathing becomes more efficient
Day 7+: Your body is primed for the summit push
Acclimatisation Rules
Limit elevation gain to 1,600 feet per day once above 8,000 feet
Drink 3-4 liters of water daily
Watch for symptoms: headaches, fatigue, nausea
Never push on with serious symptoms
Training Plan: Get Fit to Climb
Kilimanjaro may be non-technical, but it’s physically demanding. Training for the climb means building stamina, strengthening your legs and core, and preparing your body for multiple days of exertion at high altitude. A smart, steady training plan gives you the foundation to enjoy the climb, not just survive it.
Weeks 1-4: Build a Base
Cardio: 30-45 mins, 4 times per week (hiking, walking, stairs)
Strength: Twice weekly (focus on legs, core, back)
Weekend: Hike for 2-3 hours
Weeks 5-8: Build Endurance
Cardio: 45-60 mins, 4-5 times weekly
Hikes: 4-6 hours with elevation
Strength: Add weight, maintain frequency
Train on back-to-back days
Weeks 9-12: Summit Prep
Long Hikes: 6-8 hours with pack (35-40 lbs)
Altitude training if accessible
Begin tapering, maintain form
Best Exercises:
Leg strength: Squats, lunges, step-ups
Cardio: Stair climbing, cycling
Core: Planks, carries, balance drills
Gear Essentials: What to Pack
Cold, rain, and wind are all part of Kilimanjaro’s terrain. Having the right kit—layered clothing, solid boots, quality sleep gear—keeps you warm, dry, and safe. Some items you should always bring; others you can rent. Knowing the difference can save you money and hassle on the trail.
Clothing Layers
Base Layer: Two sets of merino or synthetic top and bottom
Mid Layer: Down jacket rated for sub-zero conditions
Shell Layer: Waterproof jacket and trousers
Accessories: Warm gloves, glove liners, fleece hat, sun hat
Footwear
Boots: Waterproof, high-ankle, broken in
Socks: 4-5 pairs of wool or synthetic, plus liners
Camp Shoes: Lightweight pair for evenings
Gaiters: Helpful in wet or dusty conditions
Sleep System
Sleeping Bag: Rated at least -10°F / -23°C
Sleeping Pad: Insulated with R-value 4+ minimum
Pillow: Inflatable or use a stuff sack with clothes
Technical Gear
Backpack: 35-45L daypack
Trekking Poles: Crucial for descents and balance
Headlamp: With extra batteries
Water Storage: 3L total capacity via bottles/bladders
Rent vs. Buy
Buy: Boots, personal layers, gloves, backpack
Rent: Sleeping bag, poles, duffel bag, pad (if trusted quality)
Some gear is worth owning, especially items that need to be broken in or tailored to your body. Bring your own boots, base layers, gloves, and backpack, they’re critical for comfort and performance. For items like sleeping bags, trekking poles, duffel bags, and sleeping pads, renting is a convenient option if you’re traveling light or don’t plan to use the gear again soon.
Most tour operators provide rentals through their own stock or local partners. Prices are fair and quality is generally solid, but availability can vary; book in advance and double-check that the gear meets mountain conditions. Expect to pay around $40–70 for a quality sleeping bag, $10–20 for poles or pads, and $20–40 for jackets or rain gear.
💡 Dulla's Recommendation: Pack light, pack smart, and test everything before your departure.

Costs and Choosing Your Tour Operator
What you pay for your trek isn’t just about comfort—it reflects safety standards, porter treatment, and guide qualifications. While it's tempting to pick a low price, ethical and professional operators cost more for a reason. Understanding what’s included helps you choose a company you can trust.
Average Price Ranges (per person)
Budget: $1,800–2,500
Mid-Range: $2,500–4,000
High-End: $4,000–7,000
What You’re Paying For
Park Fees: $800–1,200 (non-negotiable)
Crew Wages: $400–800 (guides, porters, cooks)
Gear and Meals: $300–600
Company Overhead: $300–800
Choosing a Trustworthy Operator
Safety: Guides with medical training, oxygen, and radios
Ethics: Fair wages, porter limits, environmentally responsible
Reputation: Verified reviews, success rates, clear communication
Red Flags to Watch Out For
Prices below $2,000
No mention of guide certifications
Guaranteed 100% success rate
Poor email or phone etiquette
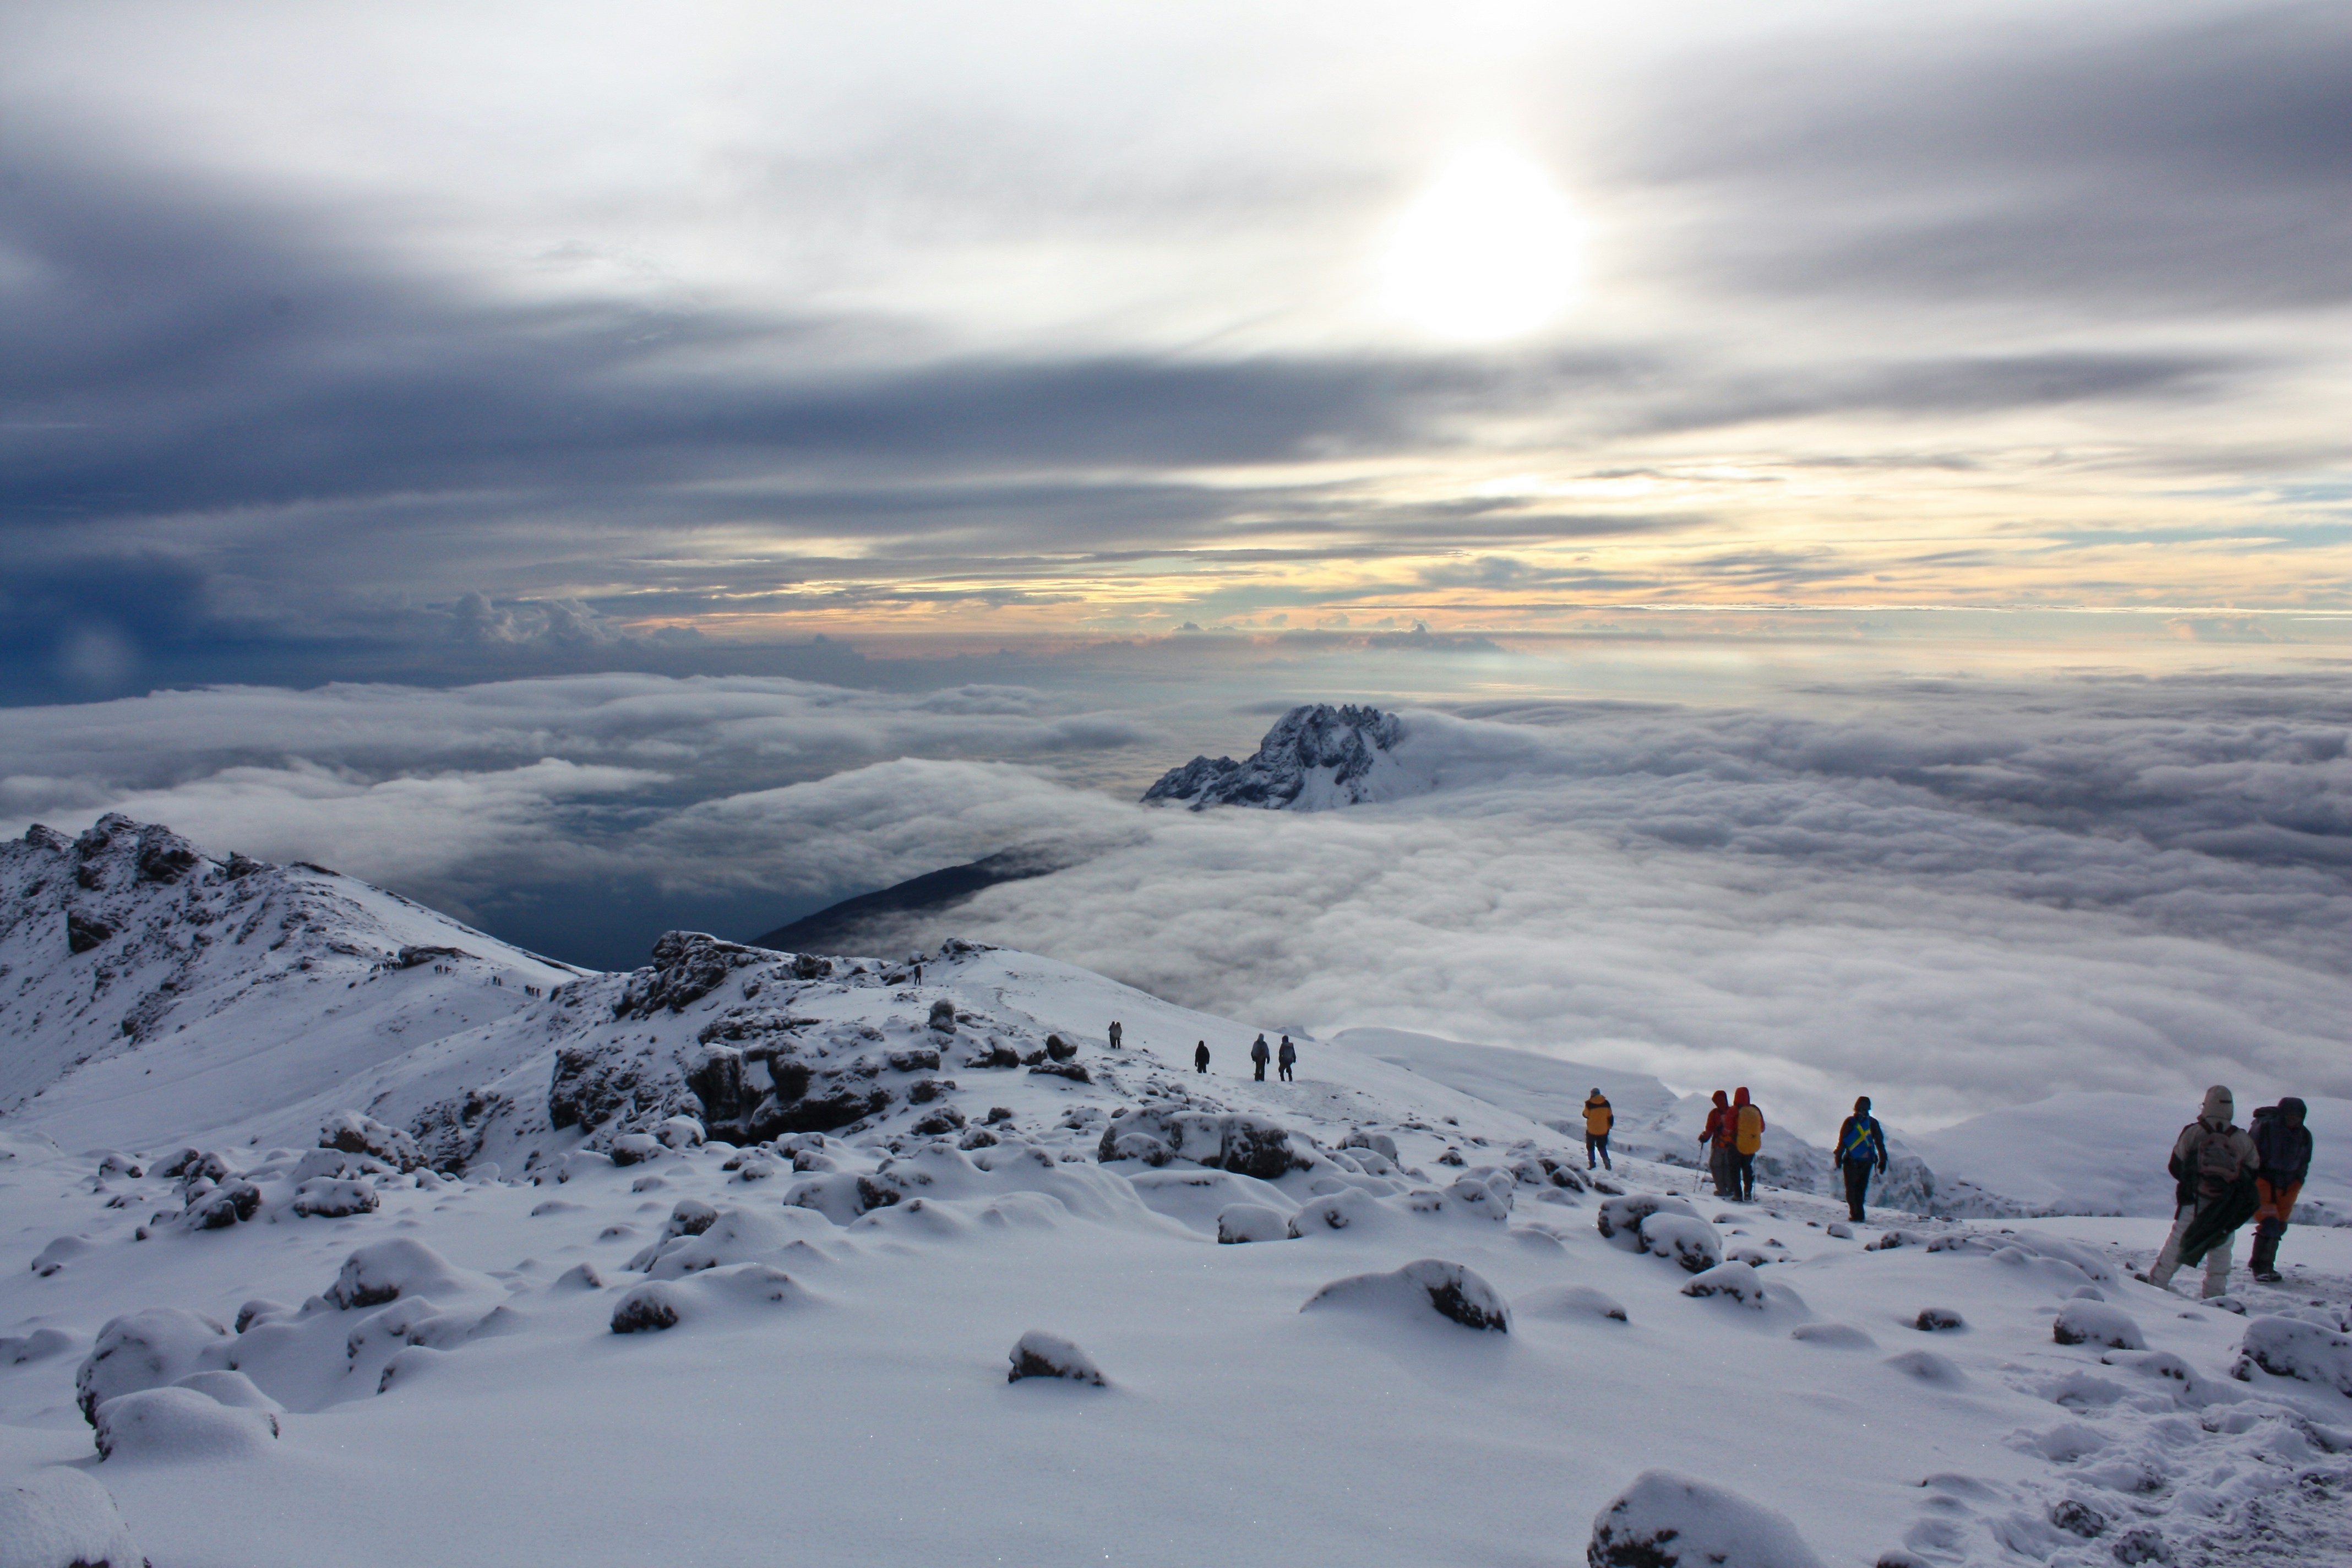
Summit Night: What to Expect
Summit night is where most climbers are pushed to their edge. You’ll start long before sunrise, in freezing temperatures and thin air, navigating steep switchbacks by headlamp. Preparation—mental and physical—matters more here than anywhere else on the climb.
Physical Toll
Heart rate elevated to 180–200 BPM
Breathing triples even at rest
600–800 calories burned per hour
Dry air causes major fluid loss
Tactical Tips
Start cold: You’ll warm up fast on the trail
Fuel regularly: 200–300 calories/hour and warm drinks
Layer smart: Regulate temperature on the go
Stay steady: Use "pressure breathing" and short, consistent steps
Mental focus: Use personal mantras or milestones
Safety and Emergency
Altitude sickness is the biggest medical risk on Kilimanjaro, and knowing the signs can save your life. Good operators are equipped with oxygen and trained guides, but climbers still need to take responsibility—listening to their bodies and respecting the mountain's warning signs.
Altitude Sickness Spectrum
Mild: Headache, light nausea — rest and hydrate
Moderate: Loss of appetite, severe fatigue — consider descent
Severe: Confusion, lack of coordination — immediate evacuation
Evacuation Methods
Below 15,000 ft: vehicle evacuation possible
Above 15,000 ft: helicopter evacuation required
Insurance must cover high-altitude rescue (up to $15,000)
Communications
Guides carry satellite phones or Garmin inReach
Weather updates monitored daily
Considerations for Women Climbers
For women, a few extra planning details can make the climb smoother. Whether it’s choosing gear that fits well, managing hygiene on the trail, or opting for operators that provide privacy and female guides, these small factors can make a big difference to overall comfort and confidence.
Physiology: Women may acclimatise better due to efficient fat metabolism and steadier pacing
Gear: Choose well-fitting layers, consider menstrual cup for convenience
Privacy: Ask about women-only tents if needed
Safety: Choose operators with female guides or female-friendly teams
Responsible Trekking
Behind every summit photo are the porters who carry the load and the trails that bear your steps. Ethical trekking means choosing companies that treat their crew fairly, minimize waste, and invest in local communities. The choices you make as a climber matter long after your trek ends.
Porter Welfare
Load limits: 44 lbs (20 kg) per porter
Proper clothing, boots, and shelter required
Daily wages: $15–20 minimum
Environmental Stewardship
Carry out all waste
Avoid campfires (usually banned)
Stick to marked trails
Respect wildlife
Support Local Communities
Choose companies that employ local staff
Look for operators who contribute to schools, clinics, or conservation
Stargazing and Night Skies
On Kilimanjaro, altitude and isolation combine for some of the clearest skies you’ll ever see. With little light pollution, you can spot the Milky Way, Southern Cross, and meteor showers if the timing’s right. Bring a warm layer and a sense of wonder—these night skies are unforgettable.
Best Nights: Days 3–5 between 11,000–13,000 ft
Conditions: High elevation, low light pollution
Highlights: Southern Cross, Magellanic Clouds, and Milky Way
Timing: Aim for new moon phases for darkest skies
Meteor Showers: Perseids (August), Geminids (December), Leonids (November)

Recovery Strategy
Kilimanjaro is as much a mental challenge as a physical one, and the days after your descent are just as important. Prioritise rest, eat well, and reflect on what you’ve accomplished. Recovery isn’t just about muscles—it’s part of the experience too.
Rest: Take 2–3 days for sleep, stretching, and light movement
Nutrition: Replenish with whole foods and hydration
Gear Care: Clean and dry your gear before storing
Reflection: Journal, share photos, and relive the climb
Travel: Combine recovery with safari or cultural explorationPost-Climb Activities
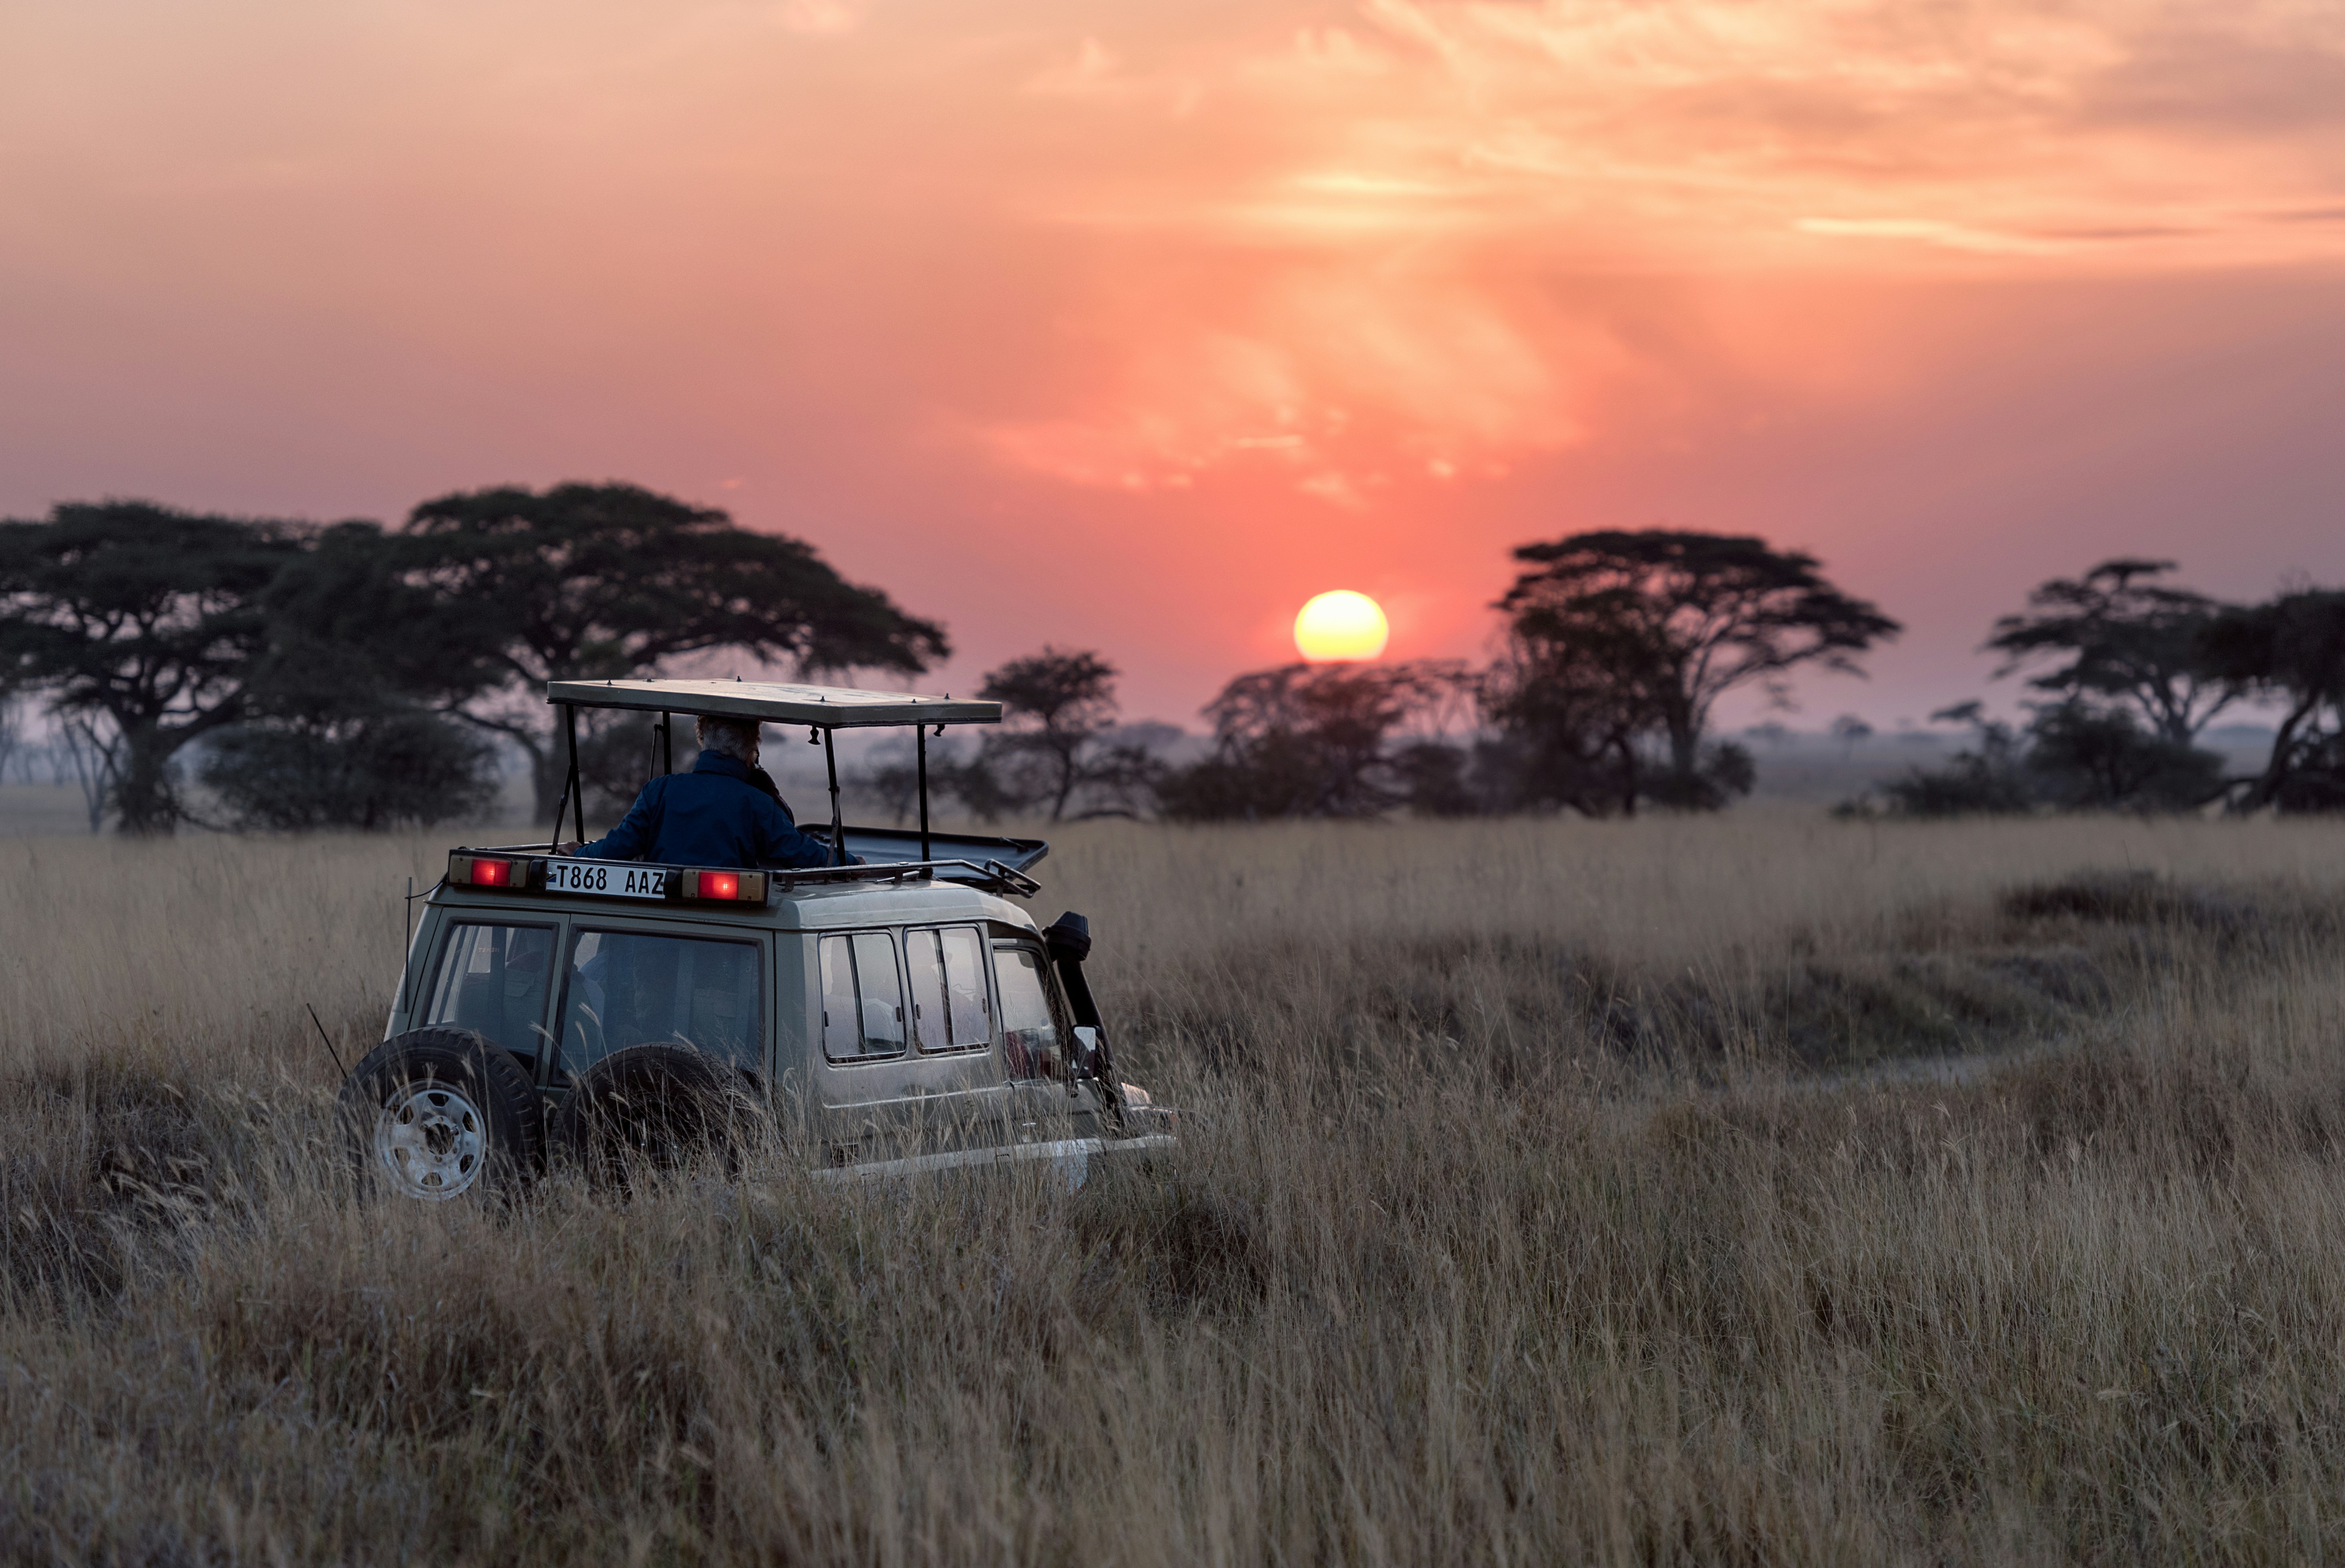
Once you’ve descended, you’re already near some of Tanzania’s most spectacular parks and cultural landmarks. Whether it’s seeing the Serengeti's wildlife or soaking in natural hot springs, post-climb adventures offer the chance to wind down—and make the most of your journey.
Post Climb Activities
Safari Expeditions
Serengeti: Prime for wildlife and Great Migration
Ngorongoro Crater: Dense, accessible big game viewing
Tarangire: Elephant herds and iconic baobabs
Cultural Highlights
Coffee Tours: Visit Chagga farms and see the roasting process
Maasai Visits: Learn about pastoral traditions
Hot Springs: Relax at Kikuletwa after the trek
Your Journey Starts Now
Climbing Kilimanjaro isn’t just about reaching the top—it’s about pushing your limits, respecting the mountain, and returning changed. Whether you’re chasing a personal goal or the thrill of adventure, it all starts with a single step - get in touch with Dulla to plan your adventure.
Rising above the Tanzanian plains, Mount Kilimanjaro draws hikers with its snow-dusted summit and the promise of a serious, soul-stirring challenge. As the tallest peak in Africa and the world’s highest standalone mountain, it’s a rare high-altitude goal that doesn’t demand ropes or crampons, just determination and a strong pair of legs.
This guide equips you with real-world knowledge, not marketing fluff. From route comparisons to altitude prep and operator red flags, you'll find what matters here.
Kilimanjaro At-a-Glance
Before diving into the logistics of your trek, it helps to understand Kilimanjaro at a glance. This quick reference sheet gives you the high-level stats: elevation, climate zones, success rates, and how many people actually attempt the climb each year. It's a snapshot of what you're signing up for and what makes this mountain so unique.
Quick Stats | Details |
Height | 19,341 feet (5,895 meters) |
Location | Northern Tanzania, East Africa |
Climate Zones | 5 ecological zones |
Routes with Highest Success | Lemosho (90%), Northern Circuit (95%) |
Typical Duration | 6-9 days |
Average Success Rate | ~65% (varies by route) |
Annual Climbers | Around 35,000 |
Minimum Age | 10 years (with special permit) |
Technical Climbing Needed | None; hiking only |
Peak Climbing Season | June-October, December-March |
When to Go
Kilimanjaro’s weather cycles aren’t just about sunshine or rain, they affect summit chances, views, and how crowded the trail feels. The mountain has two clear climbing windows, shaped by Tanzania’s dry seasons, but shoulder periods can offer solitude and savings for those willing to accept less predictable conditions.
Main Climbing Seasons:
June to October
Dry weather and steady conditions
Clear skies and great visibility
Summit temps range from -20°F to 20°F
Expect crowds; book 6+ months early
Best for first-time climbers seeking good trail conditions
December to March
Also dry, but colder
January and February are clearest
Summit temps from -25°F to 15°F
Moderate traffic
Ideal for photographers and those avoiding peak footfall
Shoulder Season Options:
April to May: Wettest time, but lower prices and fewer hikers
November: Unpredictable rains, lighter crowds, budget deals
Choosing Your Route
Each route up Kilimanjaro offers a different experience, some are scenic and slow, others direct and budget-friendly. Success rates, trail traffic, and acclimatisation profiles vary, so matching a route to your fitness level and travel goals can have a huge impact on the outcome of your climb.
Route | Days | Success Rate | Difficulty | Crowds | Best For |
7-8 | 90% | Moderate | Low-Medium | Beginners, scenic variety | |
6-7 | 85% | Moderate | High | Fit hikers, dramatic views | |
6-7 | 80% | Easy-Moderate | Low | First-timers, older trekkers | |
8-9 | 95% | Moderate | Very Low | Best acclimatization, quiet trail | |
5-6 | 60% | Misleading | Medium | Basic hut lodging (not recommended) |
Quick Picks:
Best for Beginners: Lemosho (8 days) or Rongai (7 days)
Most Scenic: Northern Circuit (9 days)
Fast & Budget-Friendly: Rongai (6 days)
Success Rates
Altitude is the biggest obstacle on Kilimanjaro, and how long you take to adjust can mean the difference between success and a forced descent. Choosing a longer itinerary isn’t just a comfort choice, it directly affects how well your body adapts to the altitude, and ultimately, whether you make it to the top.
Longer treks mean higher odds of reaching the summit. Here’s the trend:
5-6 days: 45-65% success
7 days: 75-85%
8+ days: 85-95% and above
Why More Days Help:
Acclimatisation through gradual ascent
Better recovery time between climbs
Adapts to the "climb high, sleep low" method
Less stress on the body at altitude
Altitude & Acclimatisation Basics
As you ascend, oxygen levels drop fast, and your body must adapt. This natural process, acclimatisation can’t be rushed. Knowing what to expect and how to manage early symptoms is crucial to avoid serious health issues and maximise your chance of reaching the summit safely.
At the summit, oxygen levels drop to about half that of sea level. Your body needs time to adjust.
What Happens Over Time
Days 1-2: Mild altitude symptoms are normal
Days 3-4: Red blood cell production ramps up
Days 5-6: Breathing becomes more efficient
Day 7+: Your body is primed for the summit push
Acclimatisation Rules
Limit elevation gain to 1,600 feet per day once above 8,000 feet
Drink 3-4 liters of water daily
Watch for symptoms: headaches, fatigue, nausea
Never push on with serious symptoms
Training Plan: Get Fit to Climb
Kilimanjaro may be non-technical, but it’s physically demanding. Training for the climb means building stamina, strengthening your legs and core, and preparing your body for multiple days of exertion at high altitude. A smart, steady training plan gives you the foundation to enjoy the climb, not just survive it.
Weeks 1-4: Build a Base
Cardio: 30-45 mins, 4 times per week (hiking, walking, stairs)
Strength: Twice weekly (focus on legs, core, back)
Weekend: Hike for 2-3 hours
Weeks 5-8: Build Endurance
Cardio: 45-60 mins, 4-5 times weekly
Hikes: 4-6 hours with elevation
Strength: Add weight, maintain frequency
Train on back-to-back days
Weeks 9-12: Summit Prep
Long Hikes: 6-8 hours with pack (35-40 lbs)
Altitude training if accessible
Begin tapering, maintain form
Best Exercises:
Leg strength: Squats, lunges, step-ups
Cardio: Stair climbing, cycling
Core: Planks, carries, balance drills
Gear Essentials: What to Pack
Cold, rain, and wind are all part of Kilimanjaro’s terrain. Having the right kit—layered clothing, solid boots, quality sleep gear—keeps you warm, dry, and safe. Some items you should always bring; others you can rent. Knowing the difference can save you money and hassle on the trail.
Clothing Layers
Base Layer: Two sets of merino or synthetic top and bottom
Mid Layer: Down jacket rated for sub-zero conditions
Shell Layer: Waterproof jacket and trousers
Accessories: Warm gloves, glove liners, fleece hat, sun hat
Footwear
Boots: Waterproof, high-ankle, broken in
Socks: 4-5 pairs of wool or synthetic, plus liners
Camp Shoes: Lightweight pair for evenings
Gaiters: Helpful in wet or dusty conditions
Sleep System
Sleeping Bag: Rated at least -10°F / -23°C
Sleeping Pad: Insulated with R-value 4+ minimum
Pillow: Inflatable or use a stuff sack with clothes
Technical Gear
Backpack: 35-45L daypack
Trekking Poles: Crucial for descents and balance
Headlamp: With extra batteries
Water Storage: 3L total capacity via bottles/bladders
Rent vs. Buy
Buy: Boots, personal layers, gloves, backpack
Rent: Sleeping bag, poles, duffel bag, pad (if trusted quality)
Some gear is worth owning, especially items that need to be broken in or tailored to your body. Bring your own boots, base layers, gloves, and backpack, they’re critical for comfort and performance. For items like sleeping bags, trekking poles, duffel bags, and sleeping pads, renting is a convenient option if you’re traveling light or don’t plan to use the gear again soon.
Most tour operators provide rentals through their own stock or local partners. Prices are fair and quality is generally solid, but availability can vary; book in advance and double-check that the gear meets mountain conditions. Expect to pay around $40–70 for a quality sleeping bag, $10–20 for poles or pads, and $20–40 for jackets or rain gear.
💡 Dulla's Recommendation: Pack light, pack smart, and test everything before your departure.
Costs and Choosing Your Tour Operator
What you pay for your trek isn’t just about comfort—it reflects safety standards, porter treatment, and guide qualifications. While it's tempting to pick a low price, ethical and professional operators cost more for a reason. Understanding what’s included helps you choose a company you can trust.
Average Price Ranges (per person)
Budget: $1,800–2,500
Mid-Range: $2,500–4,000
High-End: $4,000–7,000
What You’re Paying For
Park Fees: $800–1,200 (non-negotiable)
Crew Wages: $400–800 (guides, porters, cooks)
Gear and Meals: $300–600
Company Overhead: $300–800
Choosing a Trustworthy Operator
Safety: Guides with medical training, oxygen, and radios
Ethics: Fair wages, porter limits, environmentally responsible
Reputation: Verified reviews, success rates, clear communication
Red Flags to Watch Out For
Prices below $2,000
No mention of guide certifications
Guaranteed 100% success rate
Poor email or phone etiquette
Summit Night: What to Expect
Summit night is where most climbers are pushed to their edge. You’ll start long before sunrise, in freezing temperatures and thin air, navigating steep switchbacks by headlamp. Preparation—mental and physical—matters more here than anywhere else on the climb.
Physical Toll
Heart rate elevated to 180–200 BPM
Breathing triples even at rest
600–800 calories burned per hour
Dry air causes major fluid loss
Tactical Tips
Start cold: You’ll warm up fast on the trail
Fuel regularly: 200–300 calories/hour and warm drinks
Layer smart: Regulate temperature on the go
Stay steady: Use "pressure breathing" and short, consistent steps
Mental focus: Use personal mantras or milestones
Safety and Emergency
Altitude sickness is the biggest medical risk on Kilimanjaro, and knowing the signs can save your life. Good operators are equipped with oxygen and trained guides, but climbers still need to take responsibility—listening to their bodies and respecting the mountain's warning signs.
Altitude Sickness Spectrum
Mild: Headache, light nausea — rest and hydrate
Moderate: Loss of appetite, severe fatigue — consider descent
Severe: Confusion, lack of coordination — immediate evacuation
Evacuation Methods
Below 15,000 ft: vehicle evacuation possible
Above 15,000 ft: helicopter evacuation required
Insurance must cover high-altitude rescue (up to $15,000)
Communications
Guides carry satellite phones or Garmin inReach
Weather updates monitored daily
Considerations for Women Climbers
For women, a few extra planning details can make the climb smoother. Whether it’s choosing gear that fits well, managing hygiene on the trail, or opting for operators that provide privacy and female guides, these small factors can make a big difference to overall comfort and confidence.
Physiology: Women may acclimatise better due to efficient fat metabolism and steadier pacing
Gear: Choose well-fitting layers, consider menstrual cup for convenience
Privacy: Ask about women-only tents if needed
Safety: Choose operators with female guides or female-friendly teams
Responsible Trekking
Behind every summit photo are the porters who carry the load and the trails that bear your steps. Ethical trekking means choosing companies that treat their crew fairly, minimize waste, and invest in local communities. The choices you make as a climber matter long after your trek ends.
Porter Welfare
Load limits: 44 lbs (20 kg) per porter
Proper clothing, boots, and shelter required
Daily wages: $15–20 minimum
Environmental Stewardship
Carry out all waste
Avoid campfires (usually banned)
Stick to marked trails
Respect wildlife
Support Local Communities
Choose companies that employ local staff
Look for operators who contribute to schools, clinics, or conservation
Stargazing and Night Skies
On Kilimanjaro, altitude and isolation combine for some of the clearest skies you’ll ever see. With little light pollution, you can spot the Milky Way, Southern Cross, and meteor showers if the timing’s right. Bring a warm layer and a sense of wonder—these night skies are unforgettable.
Best Nights: Days 3–5 between 11,000–13,000 ft
Conditions: High elevation, low light pollution
Highlights: Southern Cross, Magellanic Clouds, and Milky Way
Timing: Aim for new moon phases for darkest skies
Meteor Showers: Perseids (August), Geminids (December), Leonids (November)
Recovery Strategy
Kilimanjaro is as much a mental challenge as a physical one, and the days after your descent are just as important. Prioritise rest, eat well, and reflect on what you’ve accomplished. Recovery isn’t just about muscles—it’s part of the experience too.
Rest: Take 2–3 days for sleep, stretching, and light movement
Nutrition: Replenish with whole foods and hydration
Gear Care: Clean and dry your gear before storing
Reflection: Journal, share photos, and relive the climb
Travel: Combine recovery with safari or cultural explorationPost-Climb Activities
Once you’ve descended, you’re already near some of Tanzania’s most spectacular parks and cultural landmarks. Whether it’s seeing the Serengeti's wildlife or soaking in natural hot springs, post-climb adventures offer the chance to wind down—and make the most of your journey.
Post Climb Activities
Safari Expeditions
Serengeti: Prime for wildlife and Great Migration
Ngorongoro Crater: Dense, accessible big game viewing
Tarangire: Elephant herds and iconic baobabs
Cultural Highlights
Coffee Tours: Visit Chagga farms and see the roasting process
Maasai Visits: Learn about pastoral traditions
Hot Springs: Relax at Kikuletwa after the trek
Your Journey Starts Now
Climbing Kilimanjaro isn’t just about reaching the top—it’s about pushing your limits, respecting the mountain, and returning changed. Whether you’re chasing a personal goal or the thrill of adventure, it all starts with a single step - get in touch with Dulla to plan your adventure.

Ready for your Kili adventure?
Take the first step toward conquering the Roof of Africa. Let Dulla and his team guide you to an unforgettable summit experience.
Ready for your Kili adventure?
Take the first step toward conquering the Roof of Africa. Let Dulla and his team guide you to an unforgettable summit experience.